How to Draw the Nike Logo (7 Simple Steps)
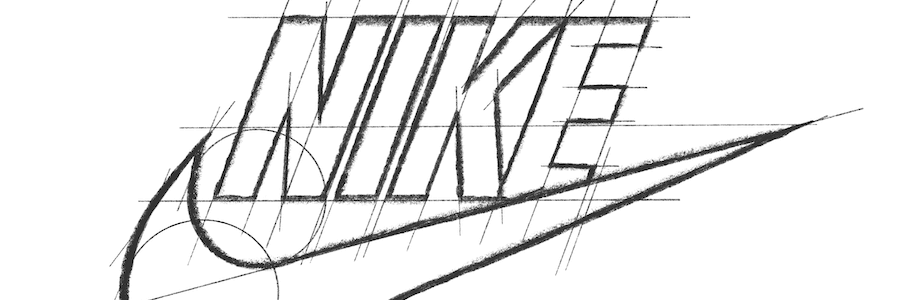
The Nike "swoosh" logo is one of the most iconic and recognizable logos in the world. The reason the Nike logo is so recognizable is because it's a perfect mix of being unique while being an incredibly simple shape. While the shape looks very simplistic, the distinct curves make it quite a tough logo to draw. You have to get the curves exactly right for it to look correct. Below, we've created a guide to draw the Nike logo with only seven simple steps. Follow these steps closely and you'll know how to draw the Nike logo perfectly!
Step 1: Draw the first basic shapes
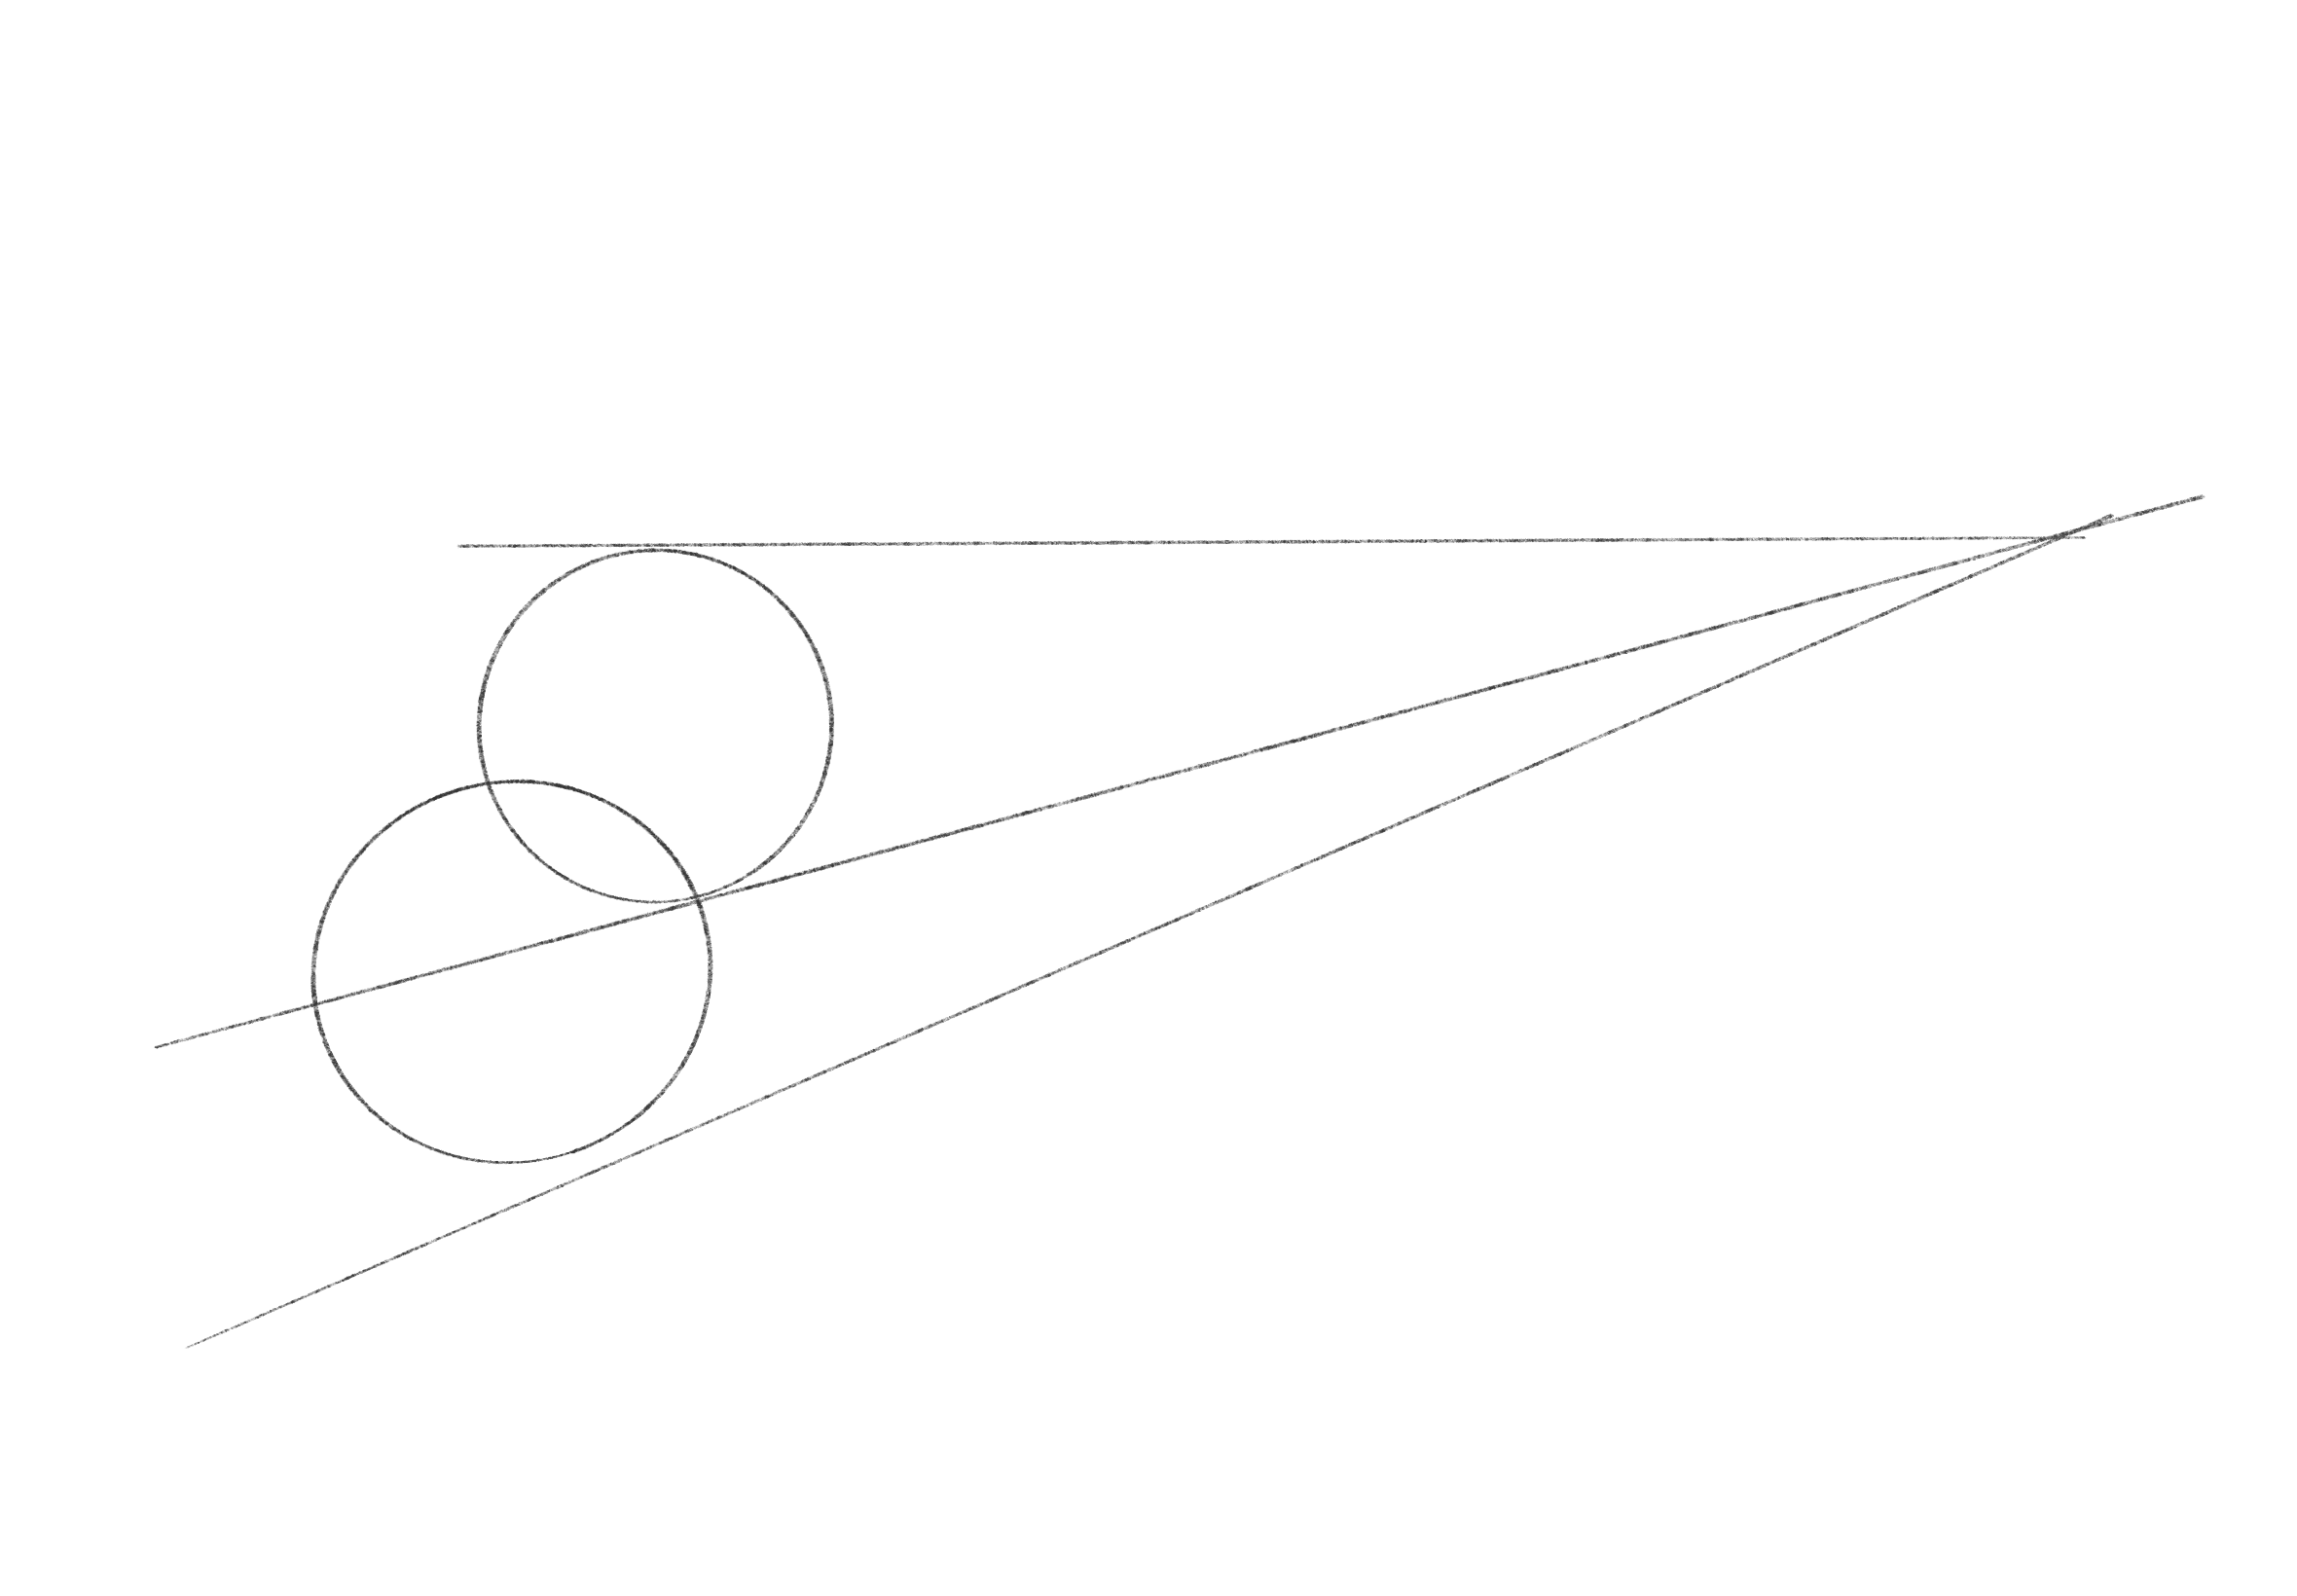
Firstly, you'll have to draw the basis of the swoosh which consist of two overlapping circles, a horizontal line at the top and two diagonal lines that all cross at the top right. Follow the example below and look closely at how the shapes intersect (notice how the bottom circle doesn't touch the diagonal line at the bottom).
Step 2: Form the full curves of the Nike swoosh
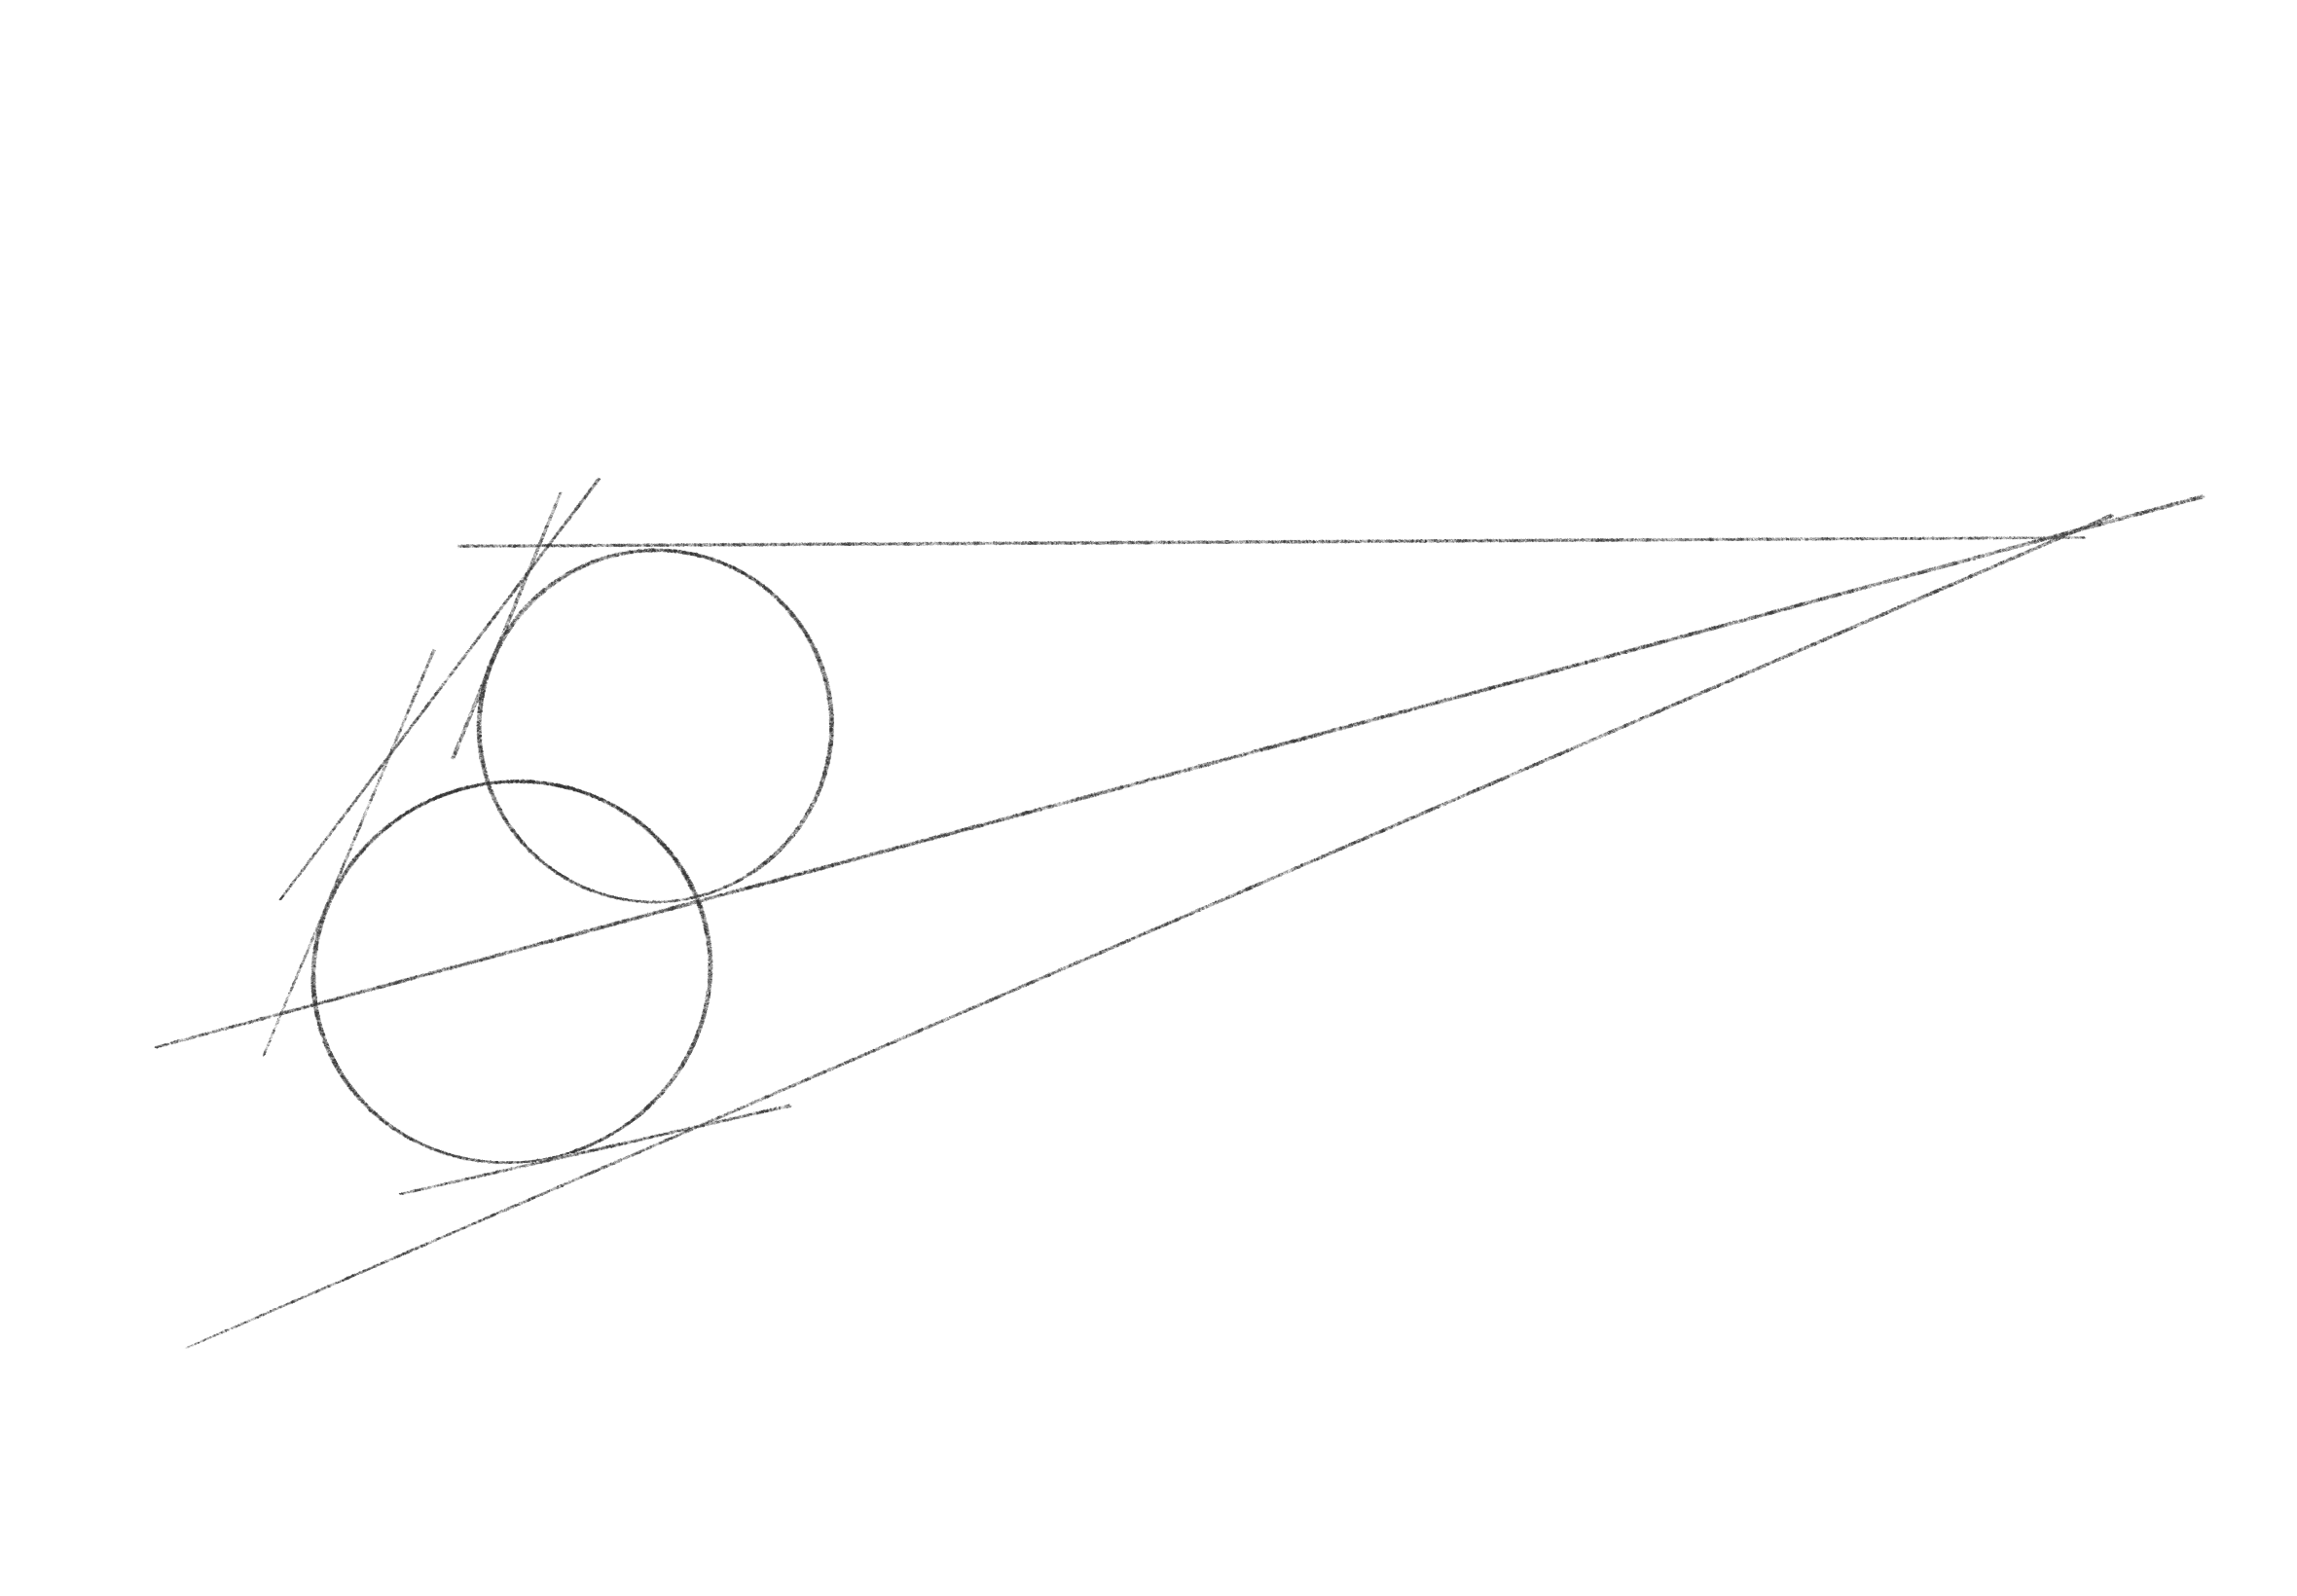
While the curves in the swoosh aren't full circles, you'll have to follow only parts of the circles like in the example below. Connect the rest with small lines to create the final basis of the full swoosh.
Step 3: Draw over the outlines to finish the Nike swoosh
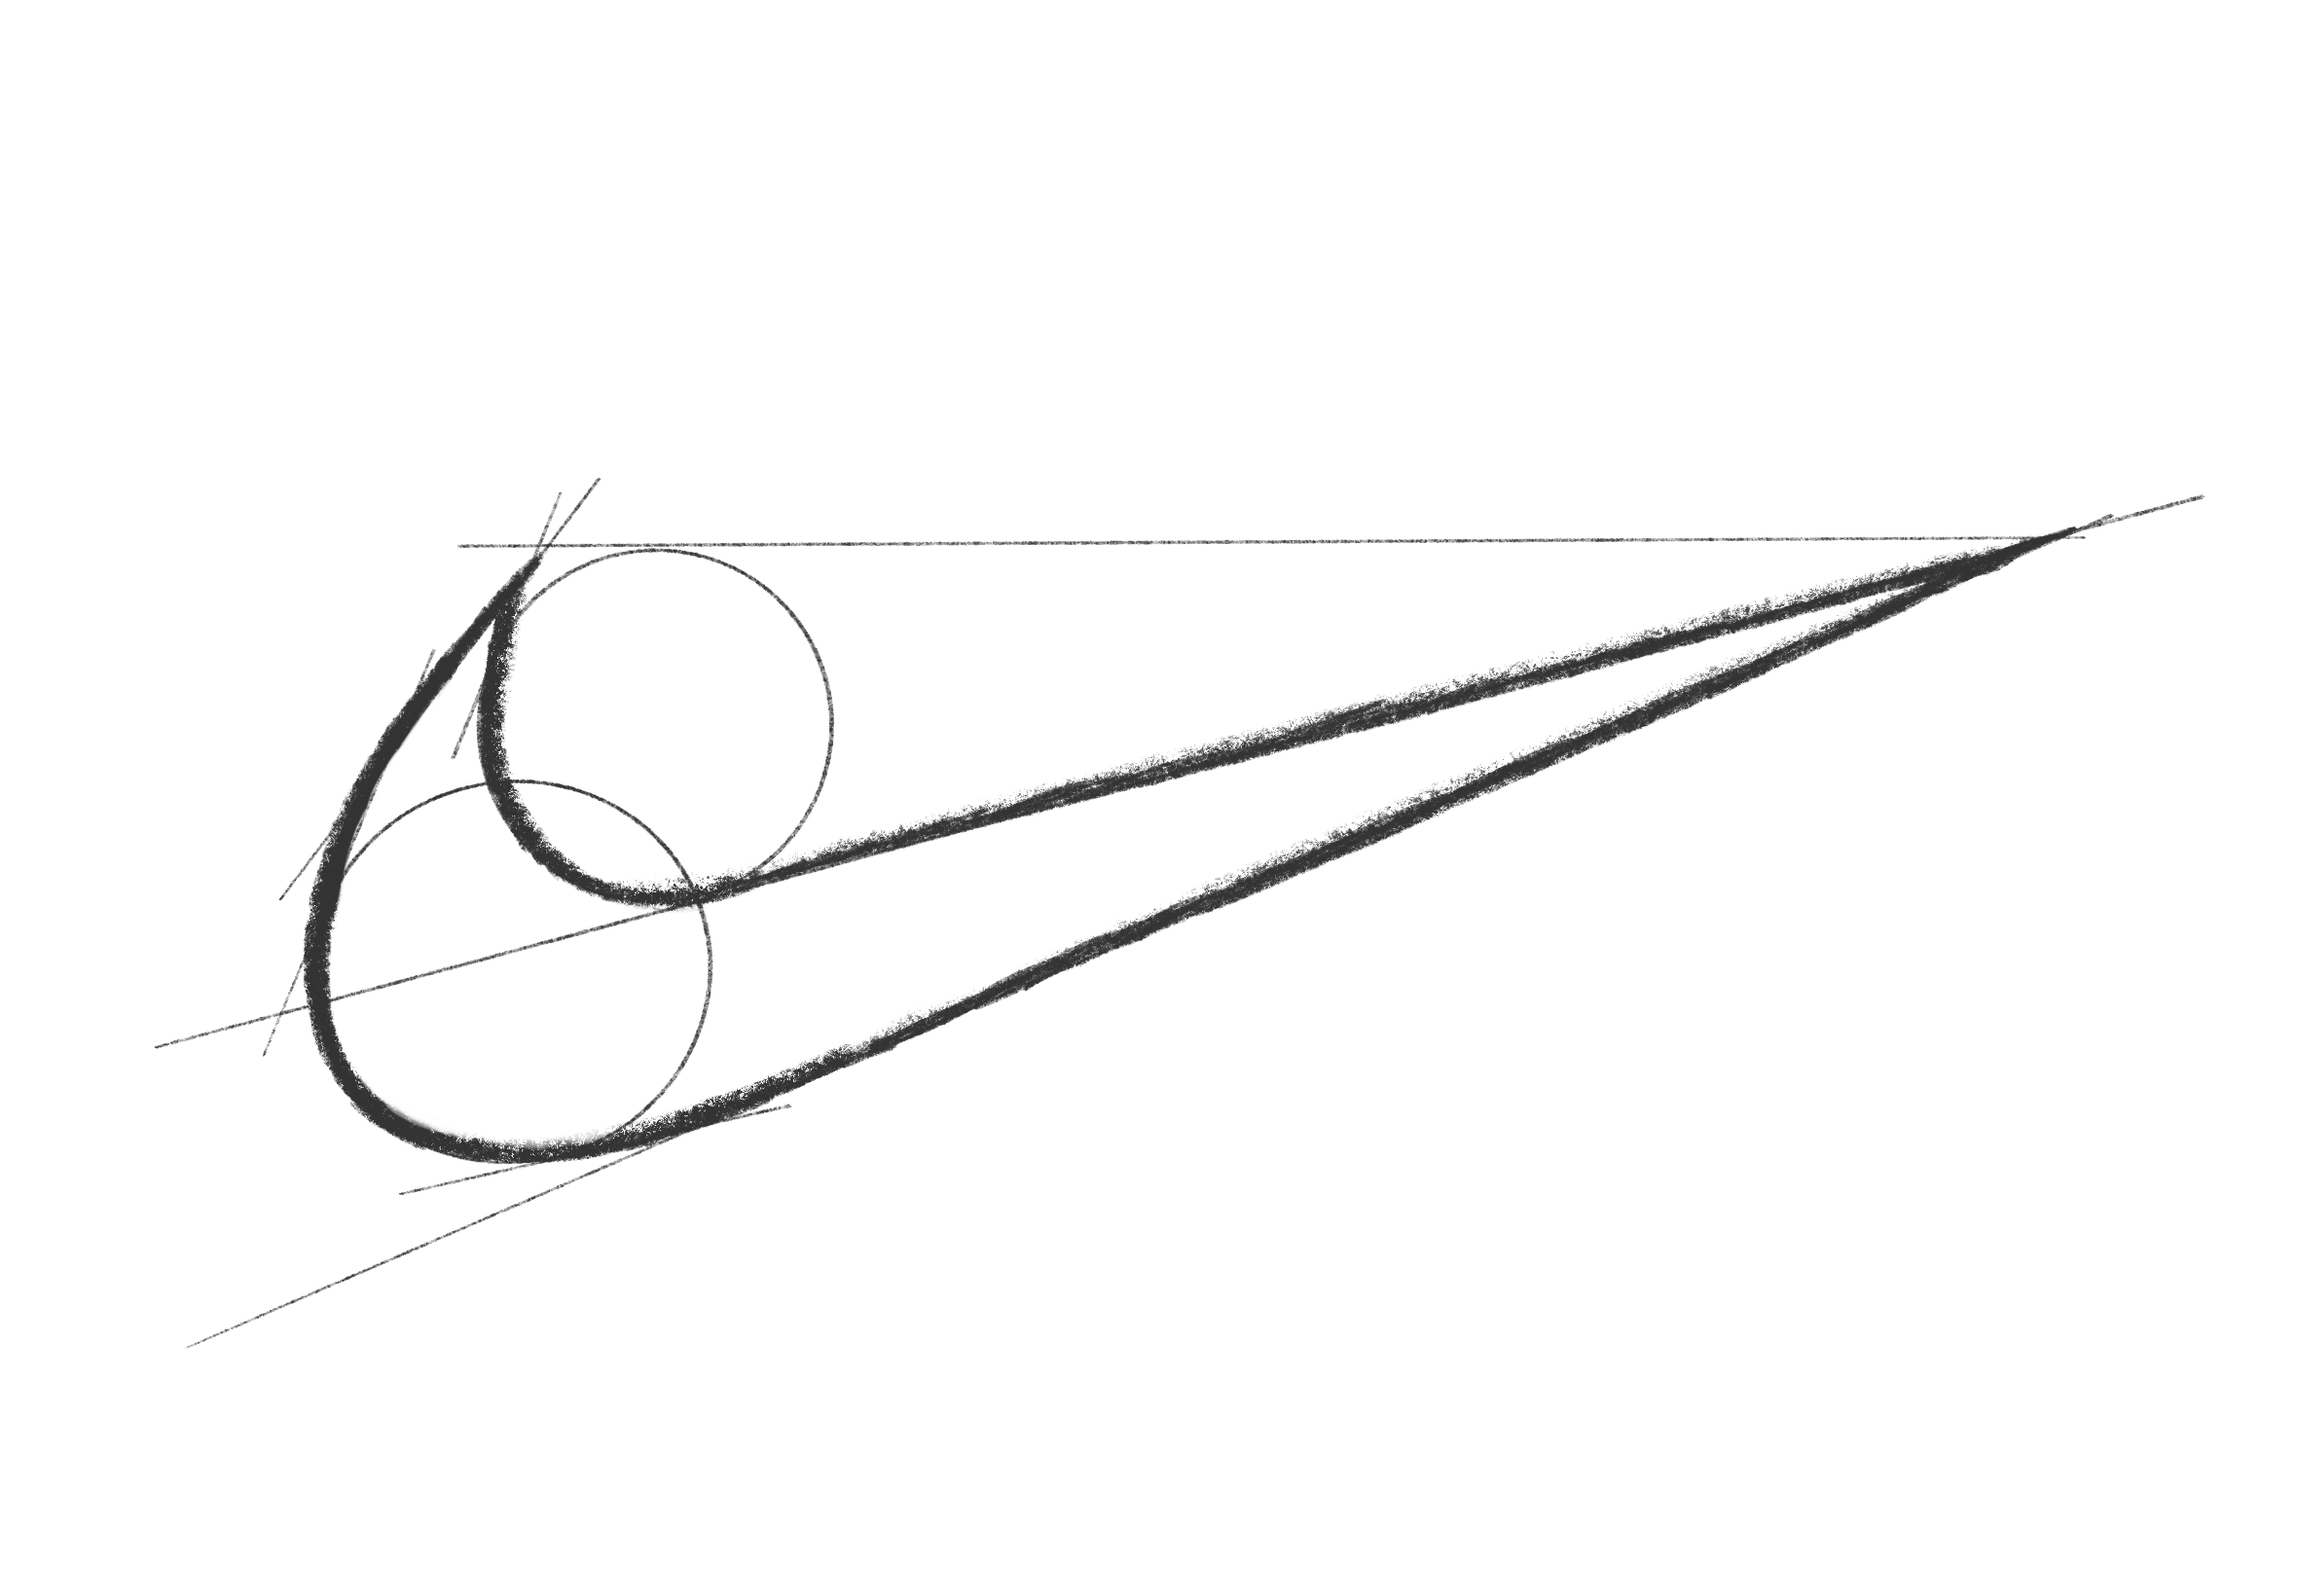
You've already formed the outlines for the swoosh which you can now draw over and smooth out to create one smooth shape. You can now also erase the outlines
Step 4: Create an outline for the "Nike"-letters
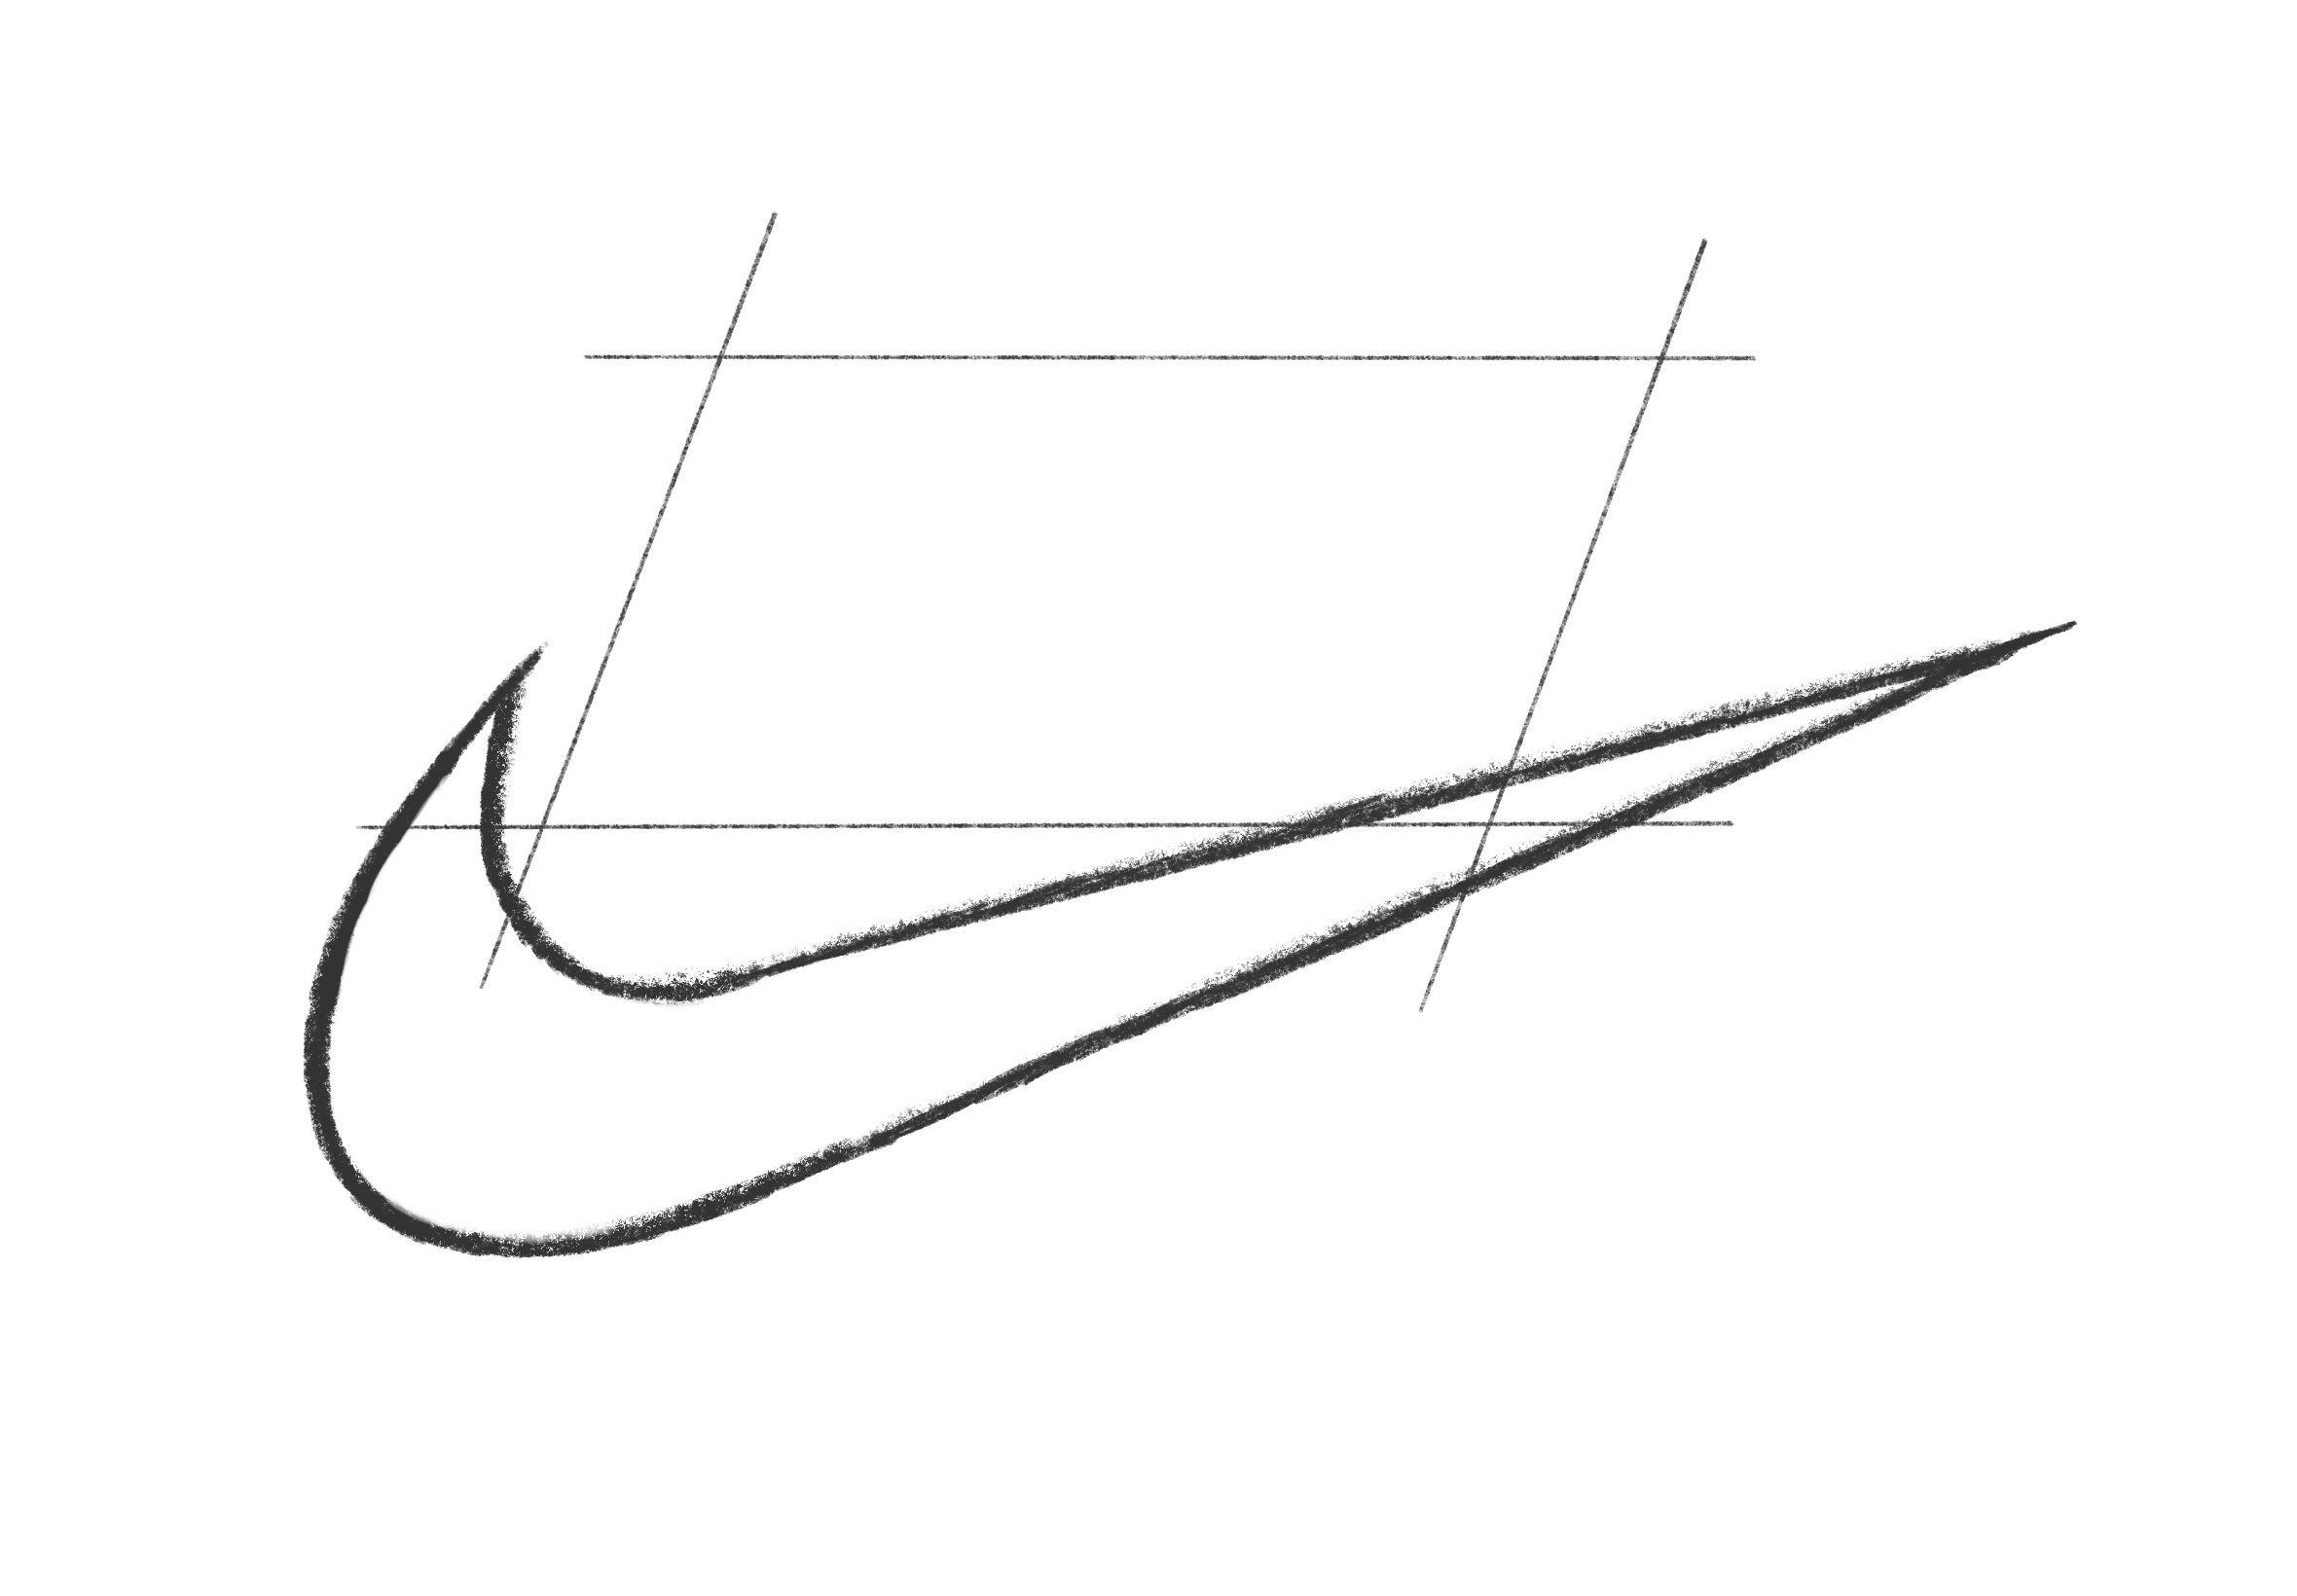
If you also want to draw the "Nike"-letters above the swoosh logo, follow the next four steps. Firstly create a skewed box that overlaps with the swoosh on its bottom-right corner.
Step 5: Create vertical outlines for the "Nike"-letters
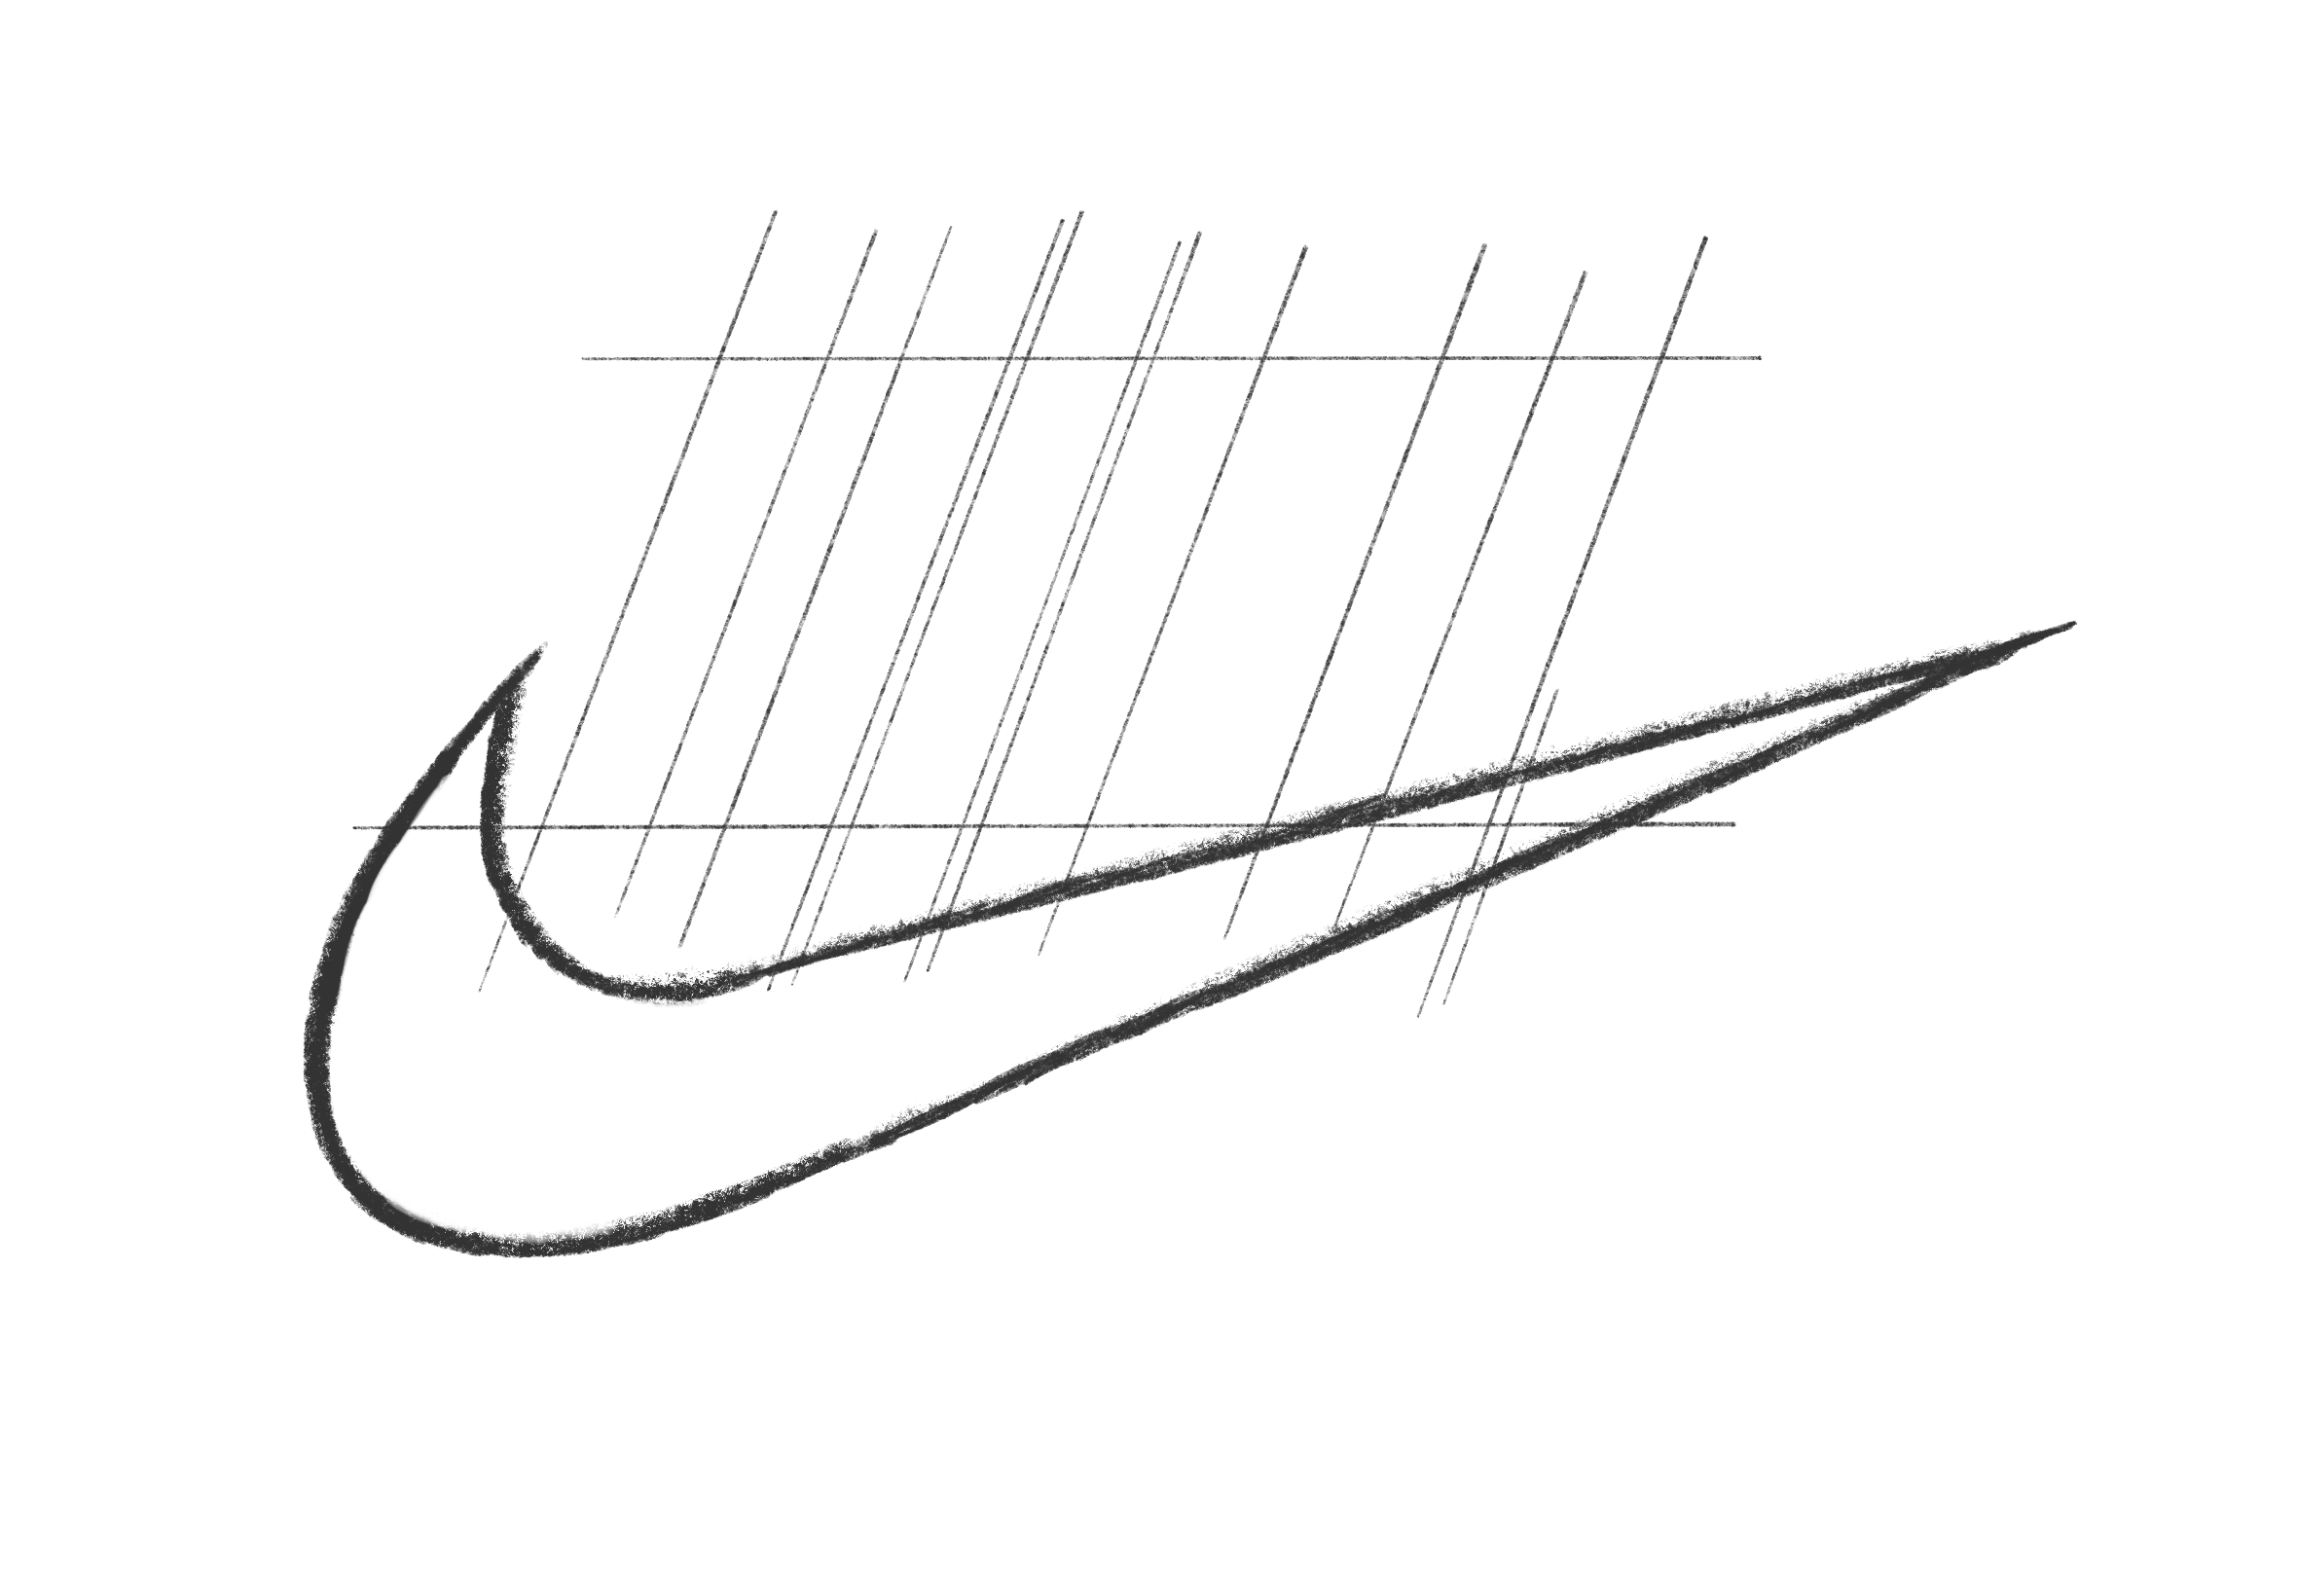
It's easiest to create the vertical outlines first as these form the basis of the letters. Pay close attention to the spacing as the letters will have to fit within these lines. Also notice the small line in the bottom right. This will be for the bottom part of the "E" which sticks out slightly.
Step 6: Draw the other lines of the "Nike"-letters
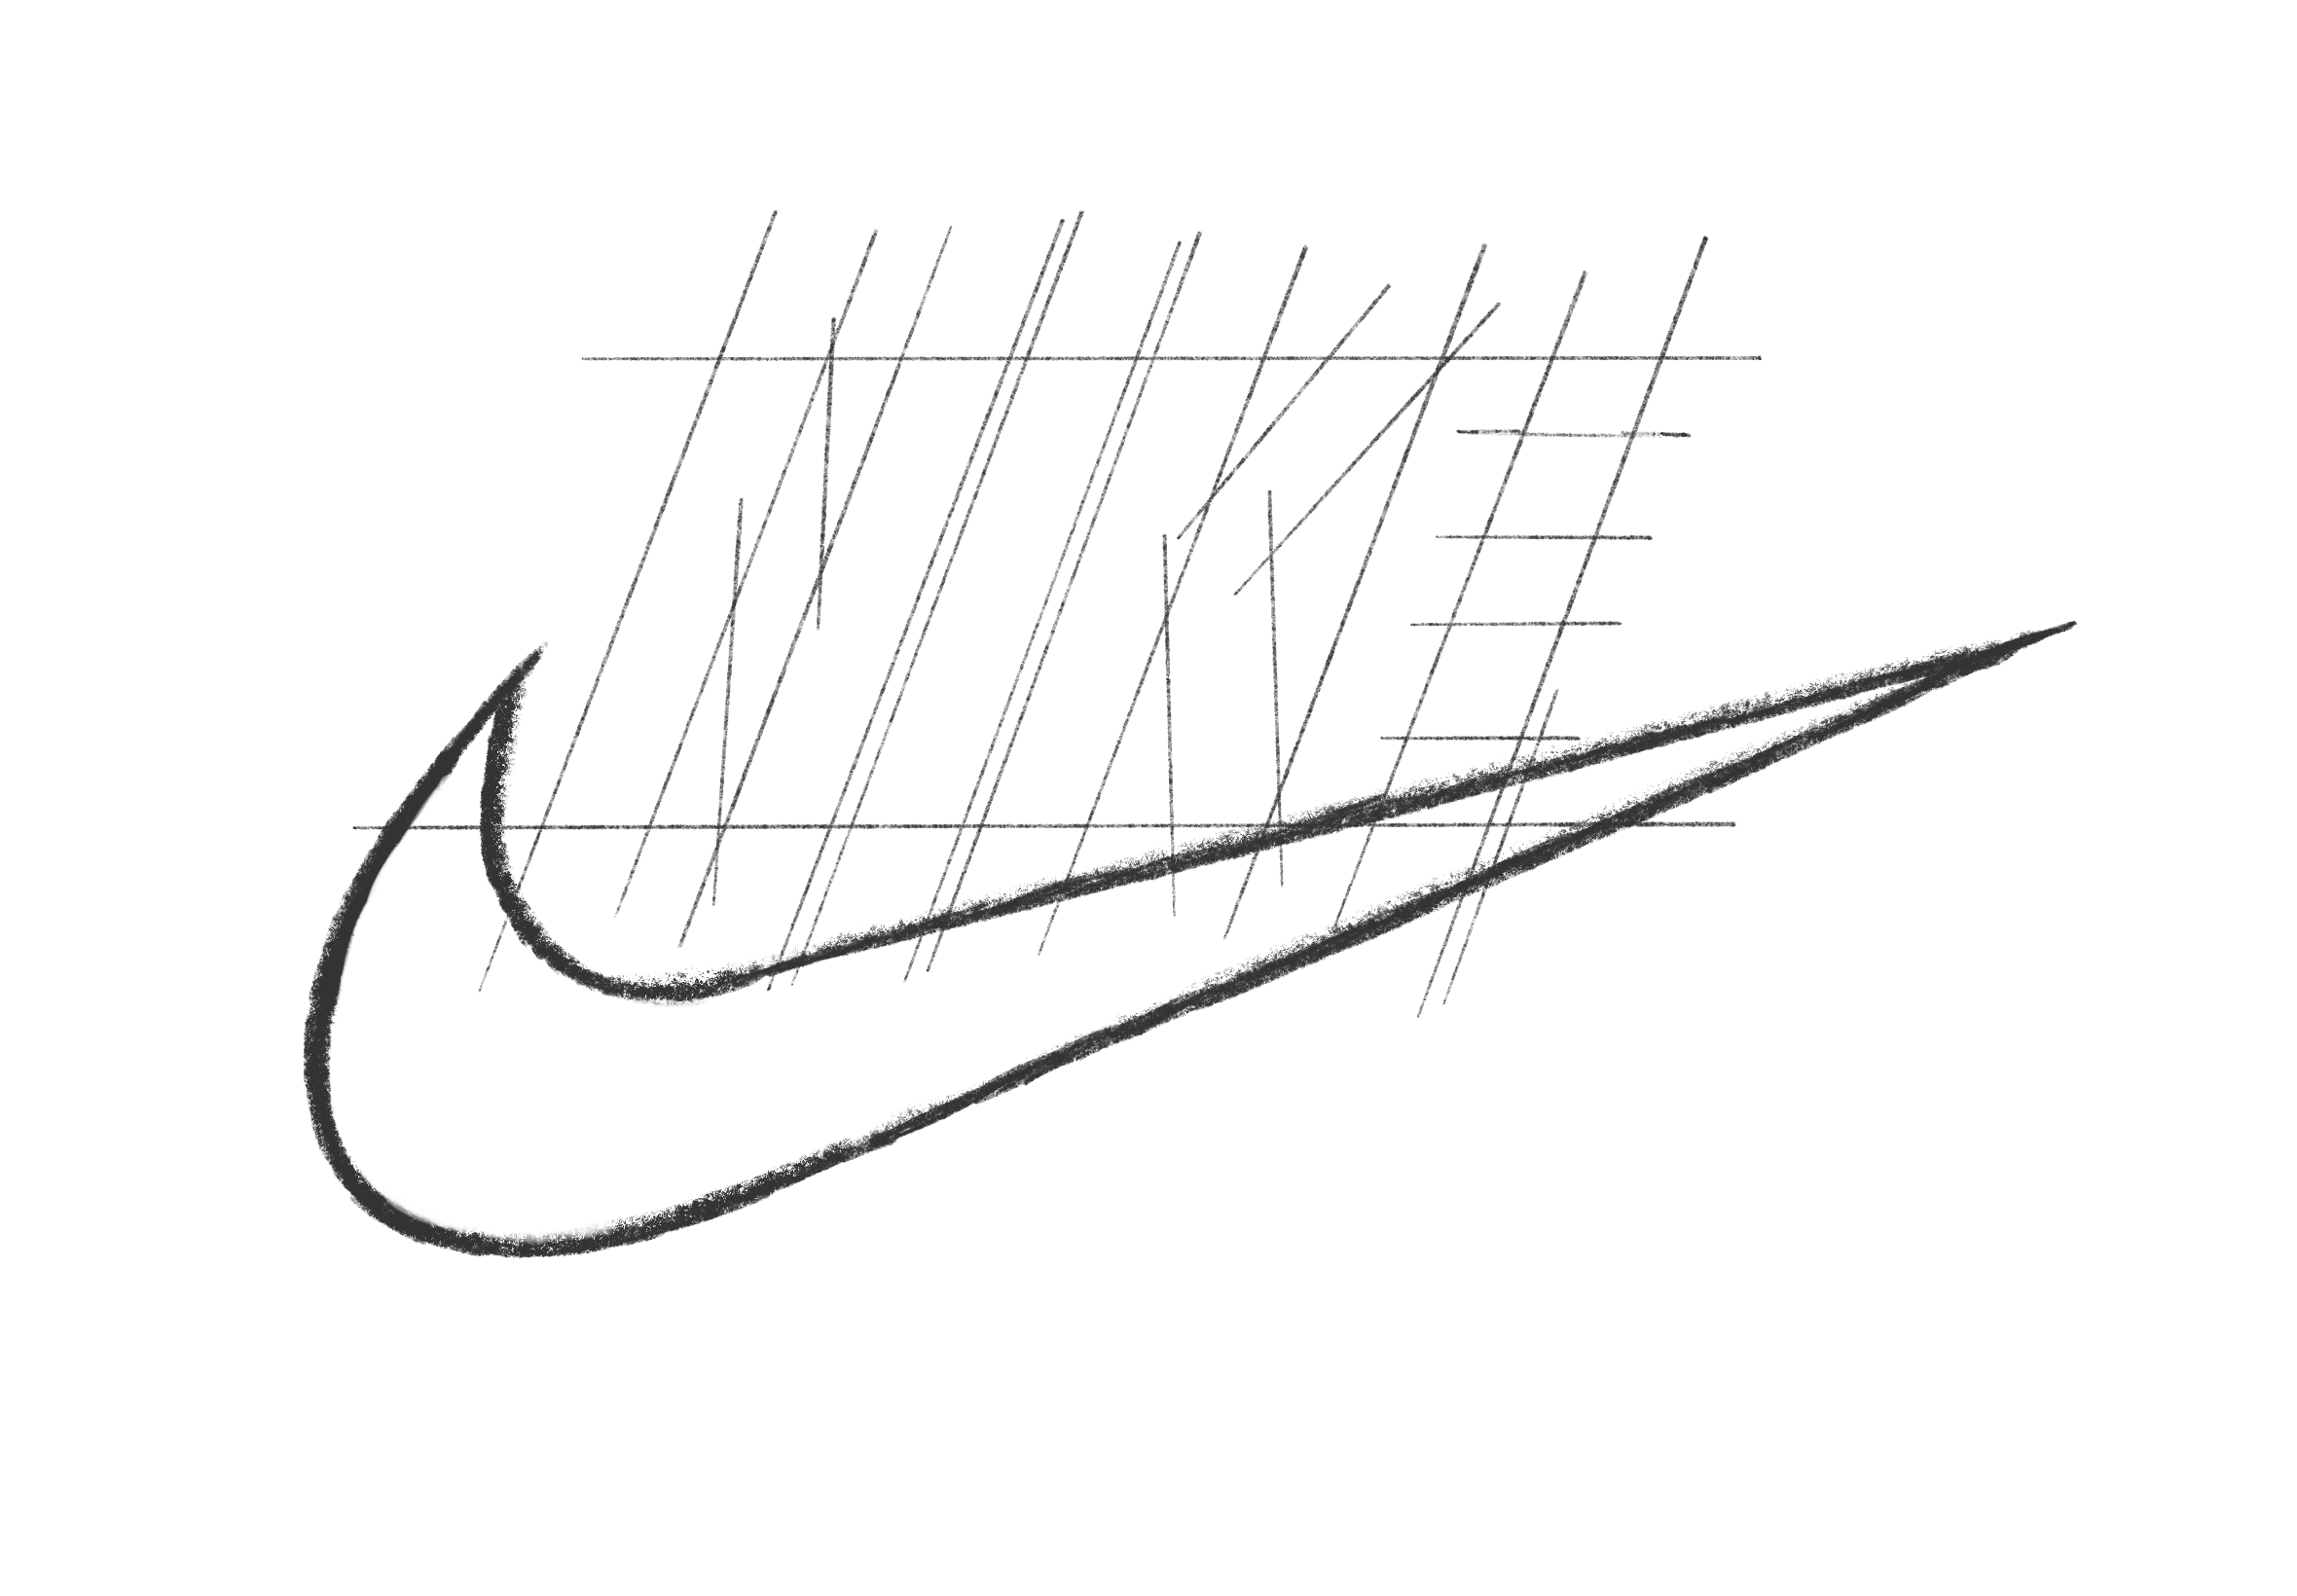
Now draw the other lines that form the logo's letters. All the lines you'll have to draw are pairs of two parallel lines.
Step 7: Trace the letters and erase the outlines to finish the logo
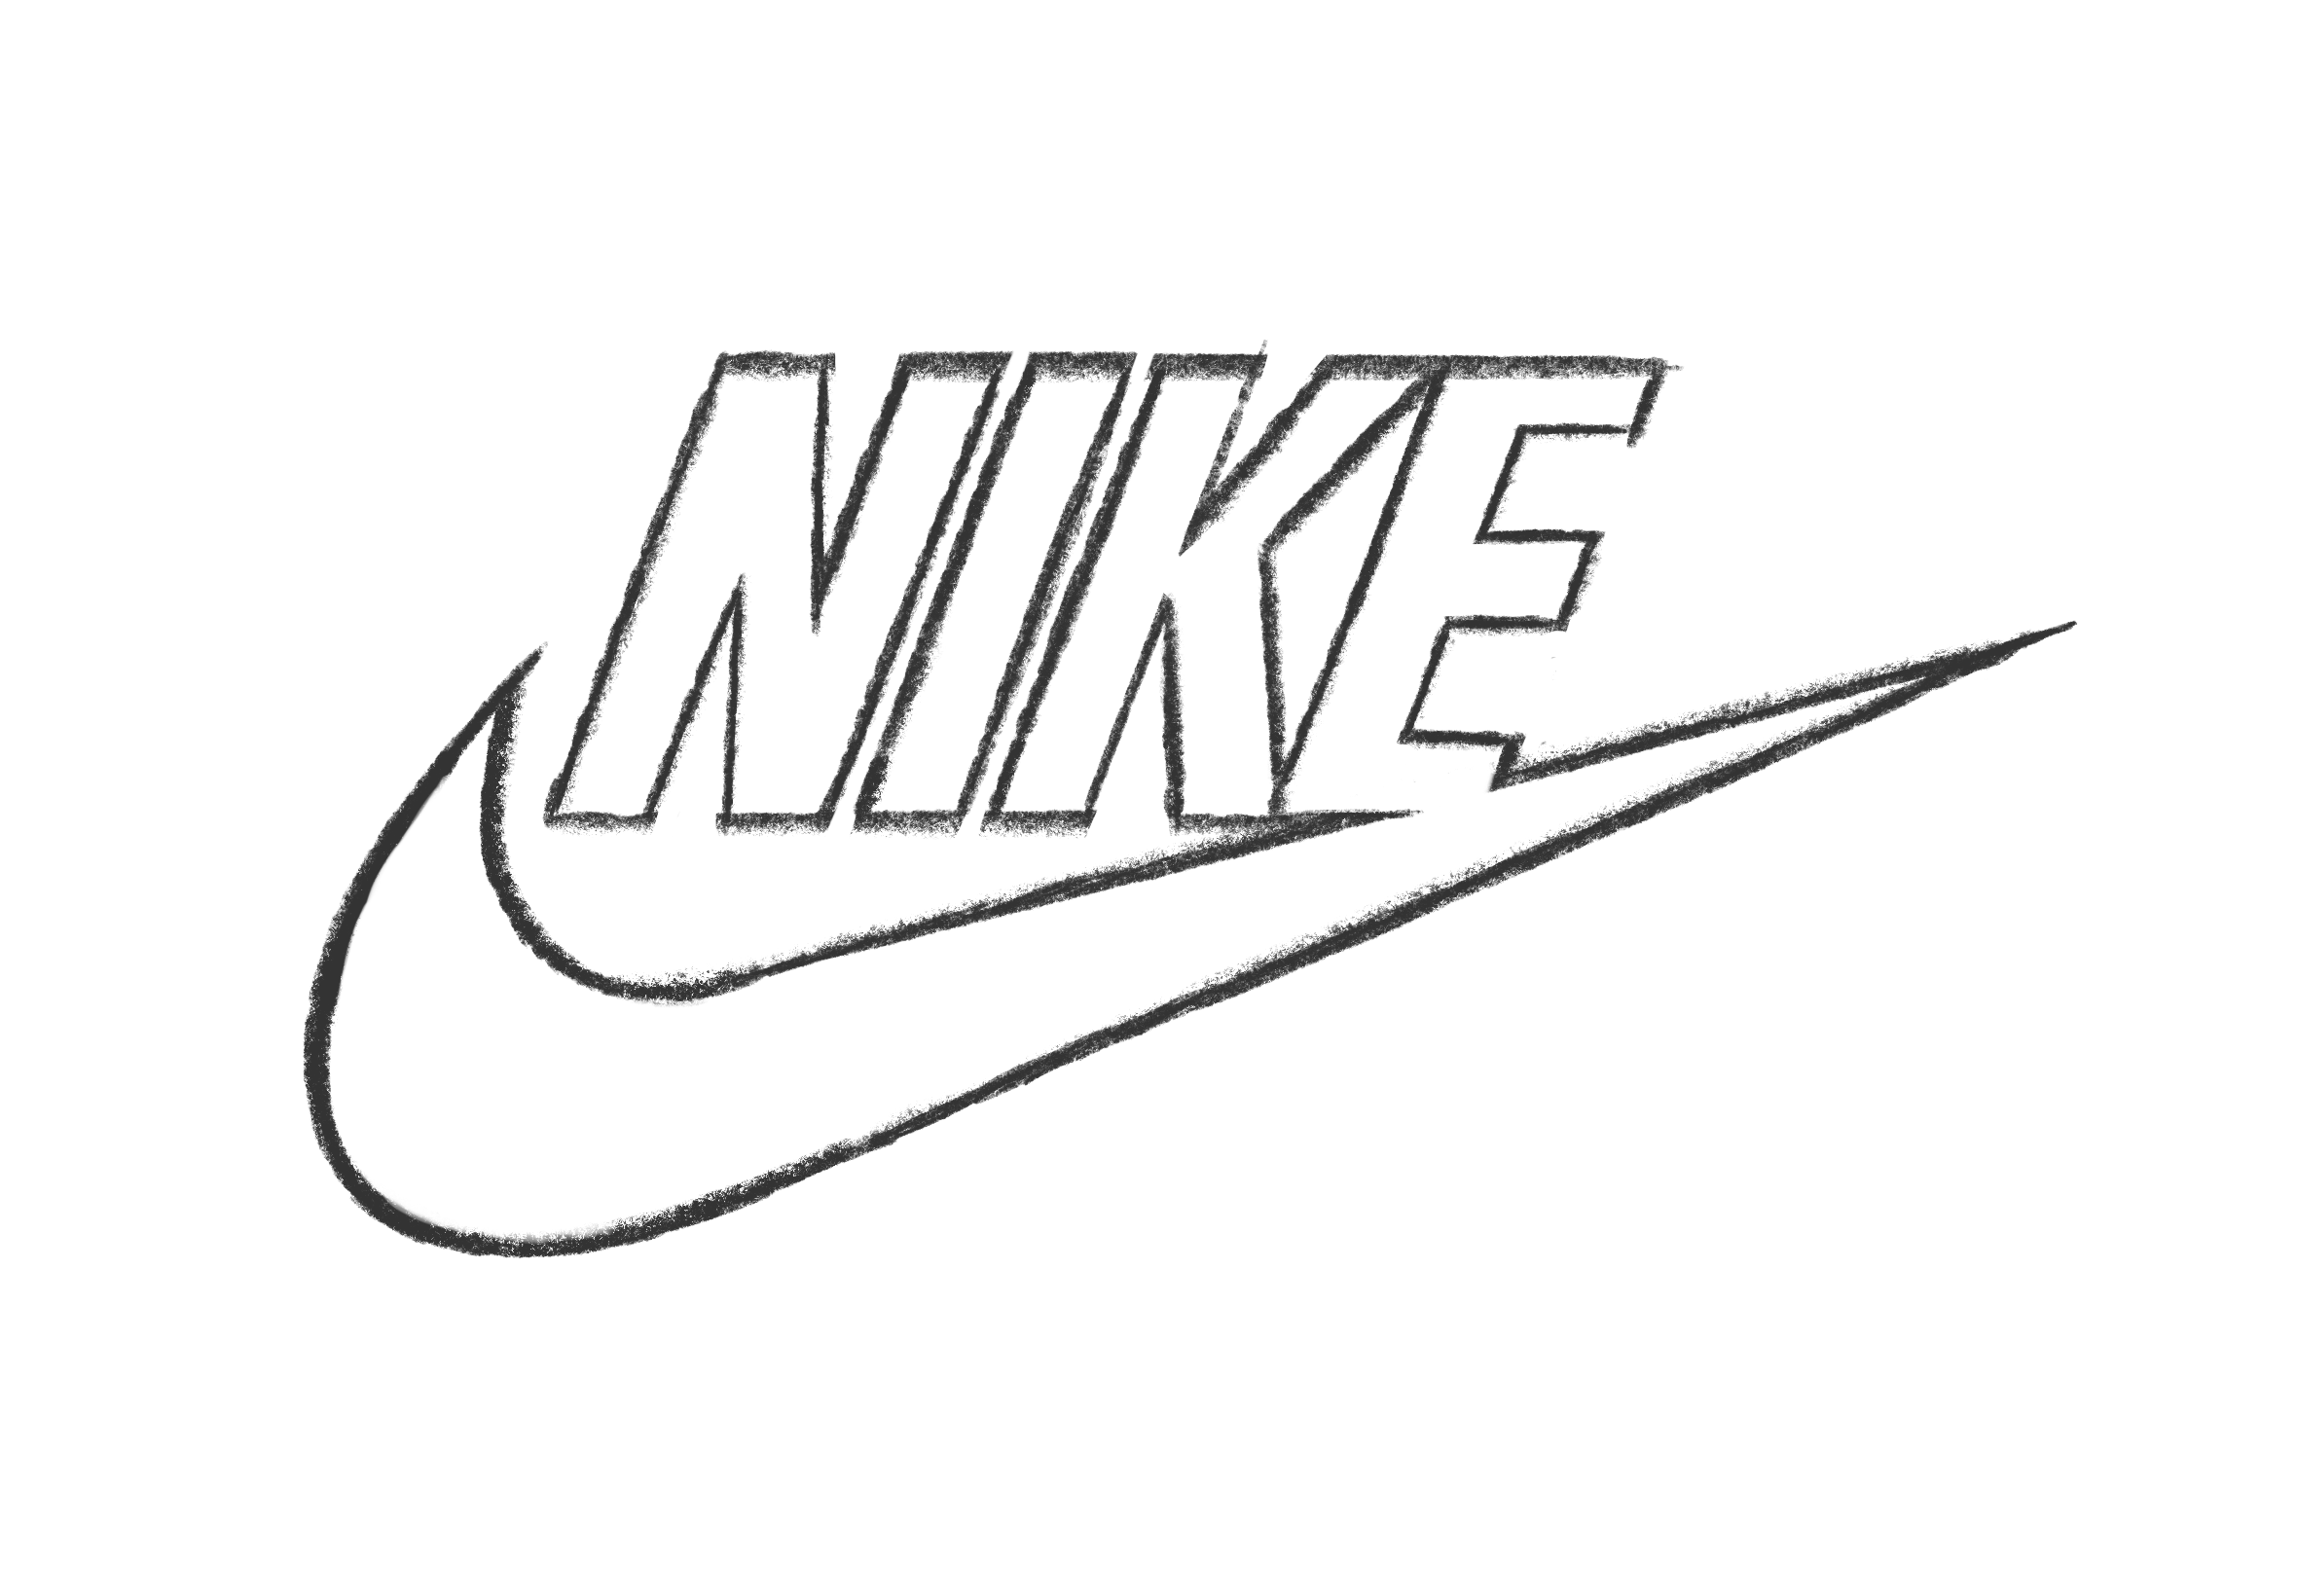
The final and easiest step is to simply follow the outlines to draw the letters. You can now erase all the outlines to finish the logo.
Generate more logo ideas
If you finished the Nike logo and want to move on to other challenges, you can use our logo prompt generator to generate even more logo design ideas. On FakeClients.com you can generate an unlimited number of logo design prompts so you can practice as much as you’d like. It’s a great practice exercise for any aspiring or beginning designer as you’ll practice logo design and you can use your imagination to think of good ideas for the logos you’ll have to design.
